
ge profile dryer owners manual
- Published
- in Manuals
Welcome! This manual guides you through setup, operation, and maintenance of your GE Profile Dryer, ensuring optimal performance and longevity.
Understanding the Manual’s Purpose
This owner’s manual is your comprehensive resource for maximizing the benefits of your GE Profile dryer. It’s designed to provide clear, step-by-step instructions covering everything from initial installation and safe operation to routine maintenance and troubleshooting common issues.
Understanding the features and controls specific to your model will ensure efficient drying and prolong the appliance’s lifespan. The manual details cycle guides, option settings, and special features like steam or sanitize cycles.
Furthermore, it includes vital safety precautions to prevent accidents and ensure the well-being of your household. Refer to this guide before attempting any repairs or contacting customer support – it may save you time and expense!
Safety Precautions
Your safety is paramount. Always disconnect the dryer from the electrical outlet before cleaning or performing maintenance. Never operate the dryer if it’s damaged, especially the power cord or plug. Do not attempt repairs yourself; contact qualified service personnel.
Ensure proper ventilation to prevent fire hazards – never block air intake or exhaust vents. Avoid drying items contaminated with flammable substances like gasoline or cleaning solvents. Keep the surrounding area clear of combustible materials.
Supervise children when they are near the dryer. Do not allow them to climb inside or play with the controls. Regularly clean the lint filter after each load to prevent fires and maintain optimal performance. Follow all warnings and instructions in this manual.
Dryer Features and Controls
Explore advanced drying! This section details the control panel, cycle options, and customizable settings for your GE Profile dryer’s optimal use.
Control Panel Overview
Navigating your dryer’s interface is simple! The GE Profile dryer features an intuitive control panel designed for ease of use. You’ll find a central dial to select pre-programmed cycles like Normal, Delicate, Heavy Duty, and more. Digital displays clearly show cycle time remaining and selected options.
Dedicated buttons allow you to customize your drying experience with options such as temperature settings (High, Medium, Low, Air Dry), moisture sensor levels, and specialized features like Steam or Sanitize. A ‘Delay Start’ function lets you schedule drying for convenience. Indicator lights alert you to cycle status – running, finished, or any error conditions. Familiarize yourself with each button and display element for efficient operation.
Cycle Guide
Choosing the right cycle ensures optimal fabric care! Your GE Profile dryer offers a variety of cycles tailored to different needs. ‘Normal’ is ideal for everyday cottons and linens. ‘Delicate’ provides gentle heat for lingerie, silks, and other fragile items. ‘Heavy Duty’ tackles bulky items like towels and jeans.
‘Permanent Press’ minimizes wrinkles in synthetic fabrics. Utilize ‘Sanitize’ to eliminate bacteria and allergens. The ‘Steam’ cycle refreshes clothes and reduces wrinkles without washing. ‘Quick Dry’ offers a fast drying option for small loads. Always consult garment care labels and select the cycle that best matches the fabric type for best results and to prevent damage.
Options and Settings
Customize your drying experience! Beyond cycles, your GE Profile dryer boasts several options. ‘Damp Dry’ signals the end of the cycle before clothes are completely dry, reducing wrinkles. ‘More Dry’ adds extra drying time for heavier loads. ‘Less Dry’ shortens the cycle for delicate items.
‘Wrinkle Shield’ periodically tumbles clothes after the cycle ends to prevent creasing. Explore ‘Steam Refresh’ for quick wrinkle removal. Adjust ‘Temperature’ settings for precise heat control. Utilize ‘End-of-Cycle Signal’ to be notified when drying is complete. Experiment with these settings to achieve perfectly dried clothes tailored to your preferences and fabric types!
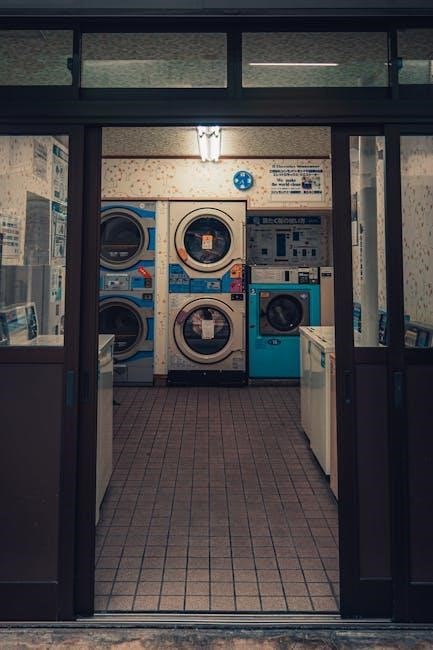
Installation and Setup
Proper installation is key! Carefully unpack your dryer, inspect for damage, and ensure correct ventilation and electrical connections for safe operation.
Unpacking and Inspection
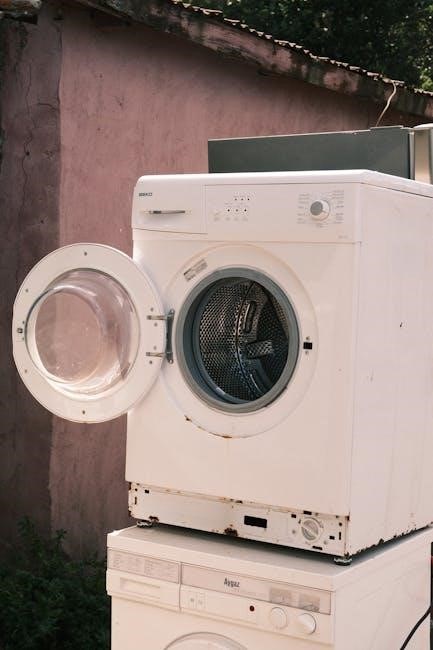
Carefully unpack your new GE Profile dryer, taking note of all packing materials. Inspect the dryer thoroughly for any visible damage that may have occurred during shipping. This includes dents, scratches, or broken parts.
Retain all packaging materials until you are satisfied with the dryer’s condition. If damage is present, immediately contact your retailer or GE Appliances for assistance.
Verify all components are included, referencing the included parts list. Remove all shipping tape and protective films from both the interior and exterior of the dryer. Ensure the dryer is placed on a level surface before proceeding with installation. Proper inspection now prevents issues later!
Proper Ventilation
Adequate ventilation is crucial for safe and efficient dryer operation. The dryer must be vented to the outdoors to expel moisture and prevent fire hazards. Use a rigid metal duct, minimizing bends and keeping it as short as possible.
Avoid using plastic or foil venting, as these materials are fire risks. Ensure the vent duct is not crushed or kinked, restricting airflow. The exhaust vent should terminate outside your home, away from windows, doors, and air intakes.
Regularly inspect and clean the vent duct to remove lint buildup, which can obstruct airflow and create a fire hazard. Proper ventilation ensures optimal drying performance and safety.
Electrical Requirements
Your GE Profile Dryer requires a dedicated 240-volt, 60Hz electrical supply. Do not use an extension cord or adapter plug. A three-prong grounding outlet is essential for safety, preventing electrical shock. Verify your home’s electrical system meets these requirements before installation.
Improper electrical connection can damage the dryer and void the warranty. If you are unsure about the electrical installation, consult a qualified electrician. The dryer’s nameplate details specific electrical specifications, including amperage and voltage.
Always disconnect power before performing any maintenance or repairs. Ensure the outlet is easily accessible for disconnection in emergencies.

Operating Instructions
Begin by loading clothes, selecting a cycle, and pressing ‘Start.’ Utilize specialized features like steam or sanitize for optimal drying results.
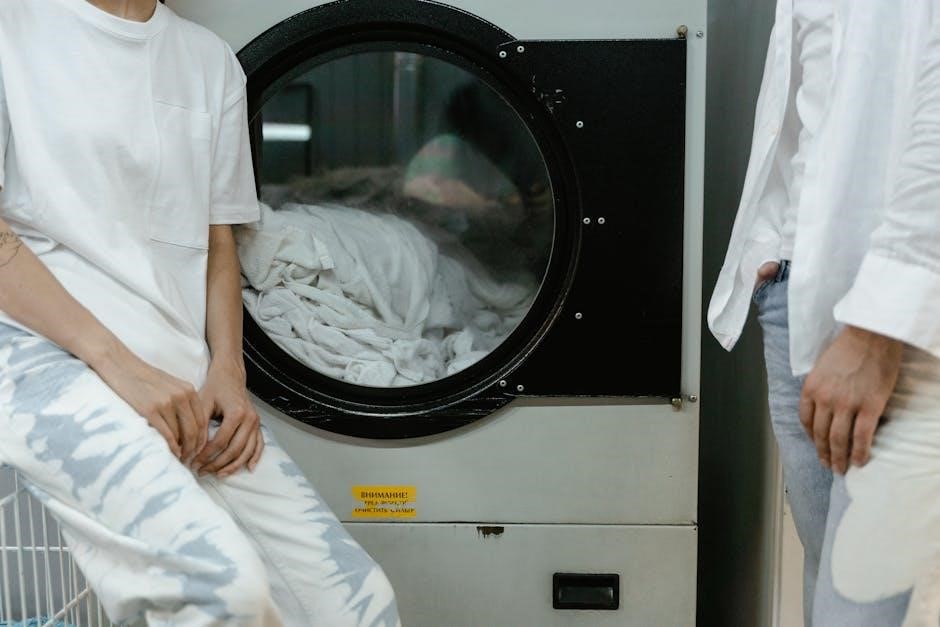
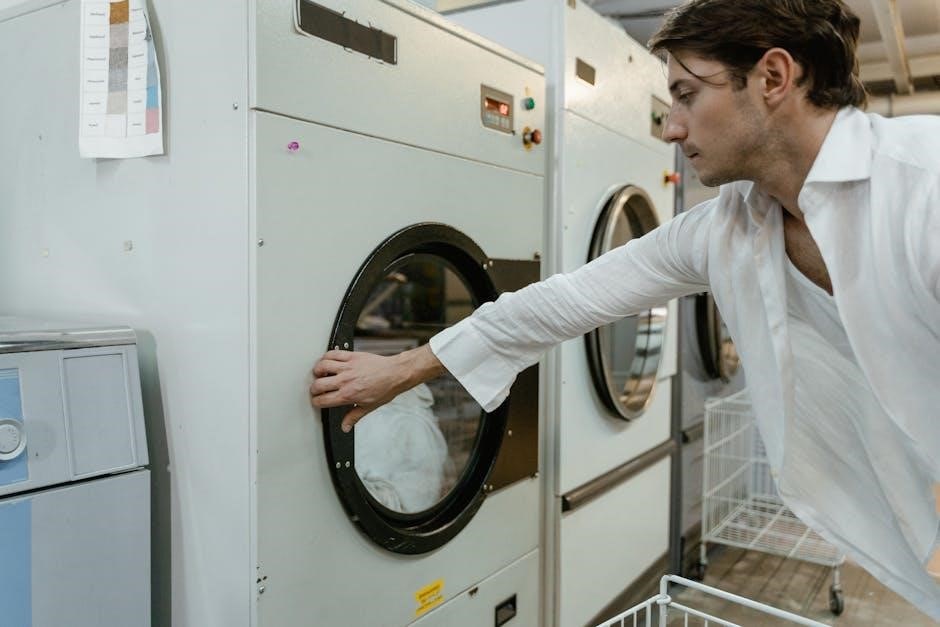
Loading and Unloading
Proper loading is crucial for efficient drying. Avoid overloading the dryer; clothes need room to tumble freely for even heat distribution. Separate items by fabric type and weight – heavier items like jeans should be dried separately from lighter ones like shirts.
Before loading, check pockets for items like keys or coins, which can damage the dryer. After the cycle completes, promptly remove clothes to prevent wrinkles. Shake out each item before placing it in the dryer to minimize creasing.
When unloading, be mindful of the drum’s temperature, especially after high-heat cycles. Regularly clean the lint filter after each load to maintain optimal airflow and prevent fire hazards. A clean lint filter ensures efficient drying and reduces energy consumption.
Starting a Cycle
To begin, ensure the door is securely closed. Select your desired cycle using the control panel – options include Normal, Delicate, Heavy Duty, and more. Adjust settings like temperature (High, Medium, Low, or Air Dry) and dryness level (Sensor Dry, Timed Dry).
For customized drying, explore available options such as Steam Refresh or Sanitize. Press the ‘Start’ button to initiate the cycle. The dryer will automatically calculate drying time based on the selected settings and load size.
The display will show the estimated remaining time. You can pause or cancel a cycle at any time by pressing the ‘Pause/Cancel’ button. Always allow the dryer to cool down before opening the door during a cycle.
Using Special Features (Steam, Sanitize, etc.)
Your GE Profile Dryer offers innovative features for specialized care. The Steam Refresh cycle gently reduces wrinkles and odors without washing, ideal for lightly worn items. The Sanitize cycle utilizes high heat to eliminate bacteria and germs, perfect for bedding and towels.
Explore the Allergen cycle to remove common allergens like dust mites and pollen. Some models include a Wrinkle Shield option, tumbling clothes periodically after the cycle ends to minimize creases.
Refer to the cycle guide for specific load recommendations and settings for each feature. Always check garment care labels before using these specialized cycles to prevent damage;

Maintenance and Cleaning
Regular cleaning ensures peak performance. Prioritize lint filter cleaning after each use, alongside periodic drum and exterior wipe-downs for longevity.
Cleaning the Lint Filter
Importance of a Clean Lint Filter: Maintaining a clean lint filter is absolutely crucial for your GE Profile dryer’s efficiency and safety. A clogged filter restricts airflow, leading to longer drying times, increased energy consumption, and potentially posing a fire hazard. It’s recommended to clean the lint filter after every single load.
How to Clean: Locate the lint filter, typically inside the dryer drum near the door opening. Gently remove the filter and use your fingers or a soft brush to dislodge any accumulated lint. For stubborn buildup, you can rinse the filter with cool water and a mild detergent; ensure it’s completely dry before reinstalling. Avoid using abrasive cleaners or brushes, as these can damage the filter. Regularly inspecting and cleaning the lint filter will contribute significantly to the dryer’s performance and safety.
Cleaning the Dryer Drum
Maintaining Drum Cleanliness: Periodically cleaning the interior drum of your GE Profile dryer helps remove residue from fabric softeners, detergents, and transferred dyes, ensuring clothes remain fresh and clean. A clean drum also contributes to optimal dryer performance.
Cleaning Procedure: To clean the drum, use a soft cloth dampened with warm water and a mild detergent. Avoid abrasive cleaners, as they can damage the drum’s finish. Wipe down the entire interior surface, paying attention to any visible residue. For stubborn stains, create a paste of baking soda and water, apply it to the stain, let it sit for a few minutes, then wipe clean. Finally, run an empty dryer cycle on a low heat setting to completely dry the drum.
Cleaning the Exterior
Maintaining a Polished Look: Regularly cleaning the exterior of your GE Profile dryer keeps it looking its best and prevents buildup of dust, fingerprints, and grime. A clean exterior also contributes to a more pleasant laundry room environment.
Cleaning Procedure: Use a soft, damp cloth with mild soap and water to wipe down all exterior surfaces, including the control panel, door, and sides. Avoid abrasive cleaners or scouring pads, as these can scratch the finish. For stainless steel surfaces, use a stainless steel cleaner specifically designed for appliances. After cleaning, dry the exterior with a clean, dry cloth. Pay special attention to the control panel, ensuring no moisture enters the buttons or display.
Troubleshooting Common Issues
Quick Solutions: This section offers guidance for resolving frequent problems, like the dryer not starting or heating, saving you time and effort.
Dryer Not Starting
Possible Causes & Solutions: If your GE Profile dryer fails to start, first verify the power cord is securely plugged into a functioning outlet. Check your home’s circuit breaker or fuse box to ensure the dryer’s circuit hasn’t tripped or blown.
Next, confirm the door is completely latched; the dryer won’t operate if the door switch isn’t engaged. Also, ensure you’ve pressed the ‘Start’ button after selecting a cycle. If these steps don’t resolve the issue, examine the control panel for any error codes displayed, referencing the manual for their meaning.
A faulty door switch, thermal fuse, or control board could also be the culprit, potentially requiring professional repair. Always disconnect power before inspecting internal components.
Dryer Not Heating
Troubleshooting a Cold Dryer: If your GE Profile dryer runs but doesn’t produce heat, several factors could be at play. Begin by checking the lint filter – a clogged filter restricts airflow and can trigger a safety shutoff. Ensure the exhaust vent is clear of obstructions, as restricted venting also causes overheating and prevents heating.
A common cause is a blown thermal fuse, designed to protect the dryer from overheating; This requires replacement by a qualified technician. The heating element itself may have failed, necessitating testing and potential replacement.
Inspect the gas supply (for gas dryers) and igniter. Always disconnect power before any internal inspection and consult a professional for gas dryer repairs.
Excessive Moisture in Clothes
Addressing Damp Laundry: If clothes remain excessively damp after a drying cycle, several issues might be present. First, verify the moisture sensor bars inside the dryer drum are clean and free of fabric softener residue; these sensors detect moisture levels. A clogged lint filter is a primary culprit, restricting airflow and hindering efficient drying.
Ensure the exhaust vent isn’t blocked or kinked, as proper ventilation is crucial. Overloading the dryer prevents adequate air circulation.
Consider selecting a higher heat setting or a longer drying time for particularly bulky or wet loads. If the problem persists, a faulty moisture sensor or heating element may require professional attention.

Parts Diagram and Replacement

Locate & Replace: This section details dryer components with diagrams, aiding identification for repairs and ensuring you order the correct replacement parts.
Identifying Dryer Parts
Understanding Components: Successfully maintaining your GE Profile dryer requires knowing its parts. Refer to the detailed exploded view diagrams within this manual – or available online via the GE Appliances website – to pinpoint specific components. Key areas include the drum, heating element, blower wheel, thermostats, and various sensors.
Part Numbers are Crucial: Each part is assigned a unique number. Always use this number when ordering replacements to guarantee compatibility. The diagrams clearly label each part with its corresponding number. Common parts needing occasional replacement include the lint filter, drive belt, and thermal fuse. Familiarize yourself with these locations for easier troubleshooting and maintenance. Proper identification prevents incorrect orders and ensures a smooth repair process.
Ordering Replacement Parts
Genuine GE Parts Recommended: To maintain your GE Profile dryer’s performance and warranty, always use genuine GE replacement parts. These parts are specifically designed for your model, ensuring a perfect fit and optimal functionality. Avoid using generic or third-party parts, as they may cause damage or void your warranty.
Where to Purchase: You can order parts through several channels. Visit the official GE Appliances website, utilize their parts finder tool, or contact an authorized GE appliance parts dealer. Have your dryer’s model and serial number readily available when ordering. Online retailers also carry GE parts, but verify their authenticity before purchasing. Ensure the part number matches exactly to avoid errors.
Warranty Information
Limited Warranty Coverage: Your GE Profile dryer is protected by a limited warranty against manufacturing defects in materials and workmanship. The standard warranty period is typically one year from the date of original purchase for parts and labor. Extended warranties are often available for purchase, offering additional coverage for a longer duration.
What is Covered: The warranty covers defects that occur during normal household use. It does not cover damage caused by misuse, accidents, improper installation, or natural disasters. Review the complete warranty statement included with your dryer for specific details and exclusions. To initiate a warranty claim, contact GE Appliances customer service with your proof of purchase and model/serial number.